
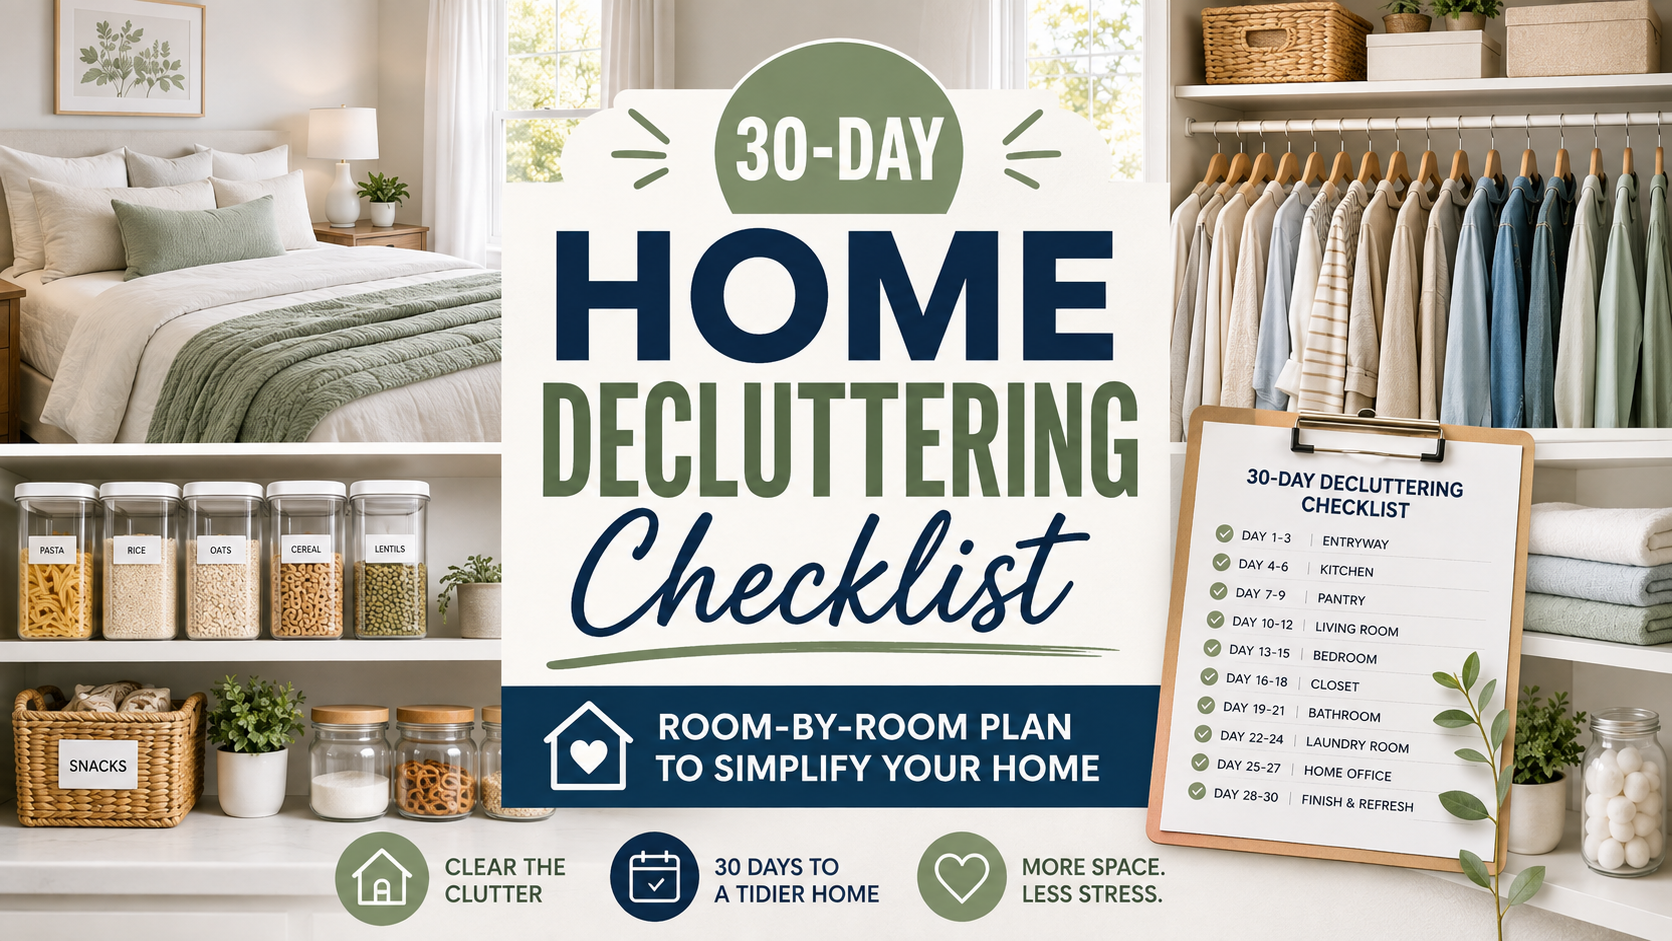
Decluttering an entire home can feel overwhelming, especially when every room seems to need attention at the same time. However, you do not need to empty every closet, reorganize every cabinet, or spend an entire weekend sorting through your belongings.
Instead, decluttering works best when you divide the process into smaller phases. By focusing on one room or category at a time, you can make steady progress without turning your home upside down.
This 30-day room-by-room decluttering checklist will help you simplify your home gradually. Over the next four weeks, you will work through bedrooms, closets, the kitchen, bathrooms, living areas, storage spaces, paperwork, and even digital clutter.
The goal is not to create a perfectly minimal home. Rather, it is to remove items that no longer serve you so your space becomes easier to clean, organize, and enjoy.
Why Decluttering Works Best in Phases
Trying to declutter your entire house in one day often leads to exhaustion, frustration, and half-finished piles. In contrast, a phased approach gives you time to make thoughtful decisions without feeling pressured.
Working in phases also helps you see progress quickly. For example, clearing one nightstand or one kitchen drawer may seem like a small accomplishment. Nevertheless, those small wins build momentum and make it easier to continue.
A 30-day decluttering plan also allows you to fit the process into your normal schedule. Most daily tasks can be completed in 15 to 30 minutes. As a result, you can simplify your home without sacrificing every evening or weekend.
How To Prepare Before You Start Decluttering
A little preparation can make your decluttering checklist much easier to follow. Before beginning, gather a few basic supplies and decide where unwanted items will go.
Gather Your Supplies
Keep the following items nearby:
- Trash bags
- Recycling bags or boxes
- Donation boxes
- A basket for misplaced items
- Cleaning cloths
- Labels and a marker
- A timer
- A paper shredder, if available
Label separate containers for items you plan to donate, sell, recycle, relocate, or throw away. This simple step prevents everything from becoming one large sorting pile.
Choose a Donation Location
Decide where you will donate usable clothing, household goods, books, and other items. Knowing where the items are going can make it easier to let them go.
Additionally, set a deadline for removing donations from your home. Ideally, schedule a drop-off at the end of each week so donation boxes do not become permanent clutter.
Set a Daily Time Limit
Choose a realistic amount of time to declutter each day. Fifteen minutes is enough for a drawer, shelf, or small category. Meanwhile, larger spaces may require 30 to 60 minutes.
Use a timer to stay focused. Once the timer ends, finish sorting the items already in front of you and stop for the day. This approach prevents burnout and keeps the process manageable.
Take Before Photos
Before you begin, take a few pictures of the areas you want to improve. These photos will help you notice progress that may otherwise be difficult to see.
After each week, take new pictures from the same angles. Comparing the photos can provide extra motivation to continue.
Week 1: Bedroom and Closet Decluttering Checklist
Your bedroom should feel peaceful and comfortable. Unfortunately, clothing piles, crowded drawers, and cluttered surfaces can make it difficult to relax.
During the first week, focus on removing visible clutter and simplifying your clothing storage.
Day 1: Clear Bedroom Surfaces
Start with your nightstands, dresser, shelves, and other flat surfaces.
Remove:
- Empty cups and dishes
- Receipts and loose papers
- Unused beauty products
- Old candles
- Broken chargers
- Random items that belong elsewhere
- Decorations you no longer enjoy
Return misplaced items to their proper rooms. Then, wipe down each surface before replacing only the items you regularly use or genuinely enjoy.
Day 2: Declutter the Nightstand
Empty your nightstand drawers completely. Next, sort everything into categories.
Keep only useful bedtime essentials, such as:
- A book you are currently reading
- Hand cream
- Medication
- A sleep mask
- A phone charger
- A small notebook and pen
Discard expired products, trash, and anything you have forgotten was there.
Day 3: Sort Tops and Sweaters
Take out your shirts, blouses, sweaters, and sweatshirts. Group similar items together so you can easily see duplicates.
Remove pieces that:
- No longer fit
- Feel uncomfortable
- Are badly stained or damaged
- Have not been worn in the past year
- No longer match your current lifestyle
- Are nearly identical to items you prefer more
Afterward, fold or hang the remaining clothing neatly.
Day 4: Sort Pants, Dresses, and Outerwear
Repeat the same process with pants, jeans, skirts, dresses, jackets, and coats.
Pay special attention to clothing you are keeping for a hypothetical occasion. Formal or seasonal pieces may still be worth keeping, but they should fit properly and suit events you may realistically attend.
Day 5: Declutter Shoes and Accessories
Gather shoes, handbags, belts, scarves, hats, jewelry, and other accessories.
Keep items that are comfortable, useful, and in good condition. Donate accessories that no longer suit your style, and discard anything that is too damaged to repair.
Day 6: Organize Dresser Drawers
Work through one drawer at a time.
Declutter:
- Socks without matches
- Worn-out undergarments
- Damaged sleepwear
- Clothing in the wrong size
- Items you constantly avoid wearing
Then, organize each drawer by category. Drawer dividers can help, although small boxes can work just as well.
Day 7: Check Under the Bed and Finish the Closet
Remove everything stored under the bed. Discard trash, relocate misplaced items, and place anything you keep inside clearly labeled containers.
Finally, review the closet one more time. Arrange clothing by category so it is easier to see what you own.
Week 2: Kitchen and Pantry Decluttering Checklist
The kitchen can collect duplicates, expired food, unused appliances, and crowded drawers faster than almost any other room. Therefore, week two focuses on creating a kitchen that is easier to cook in and maintain.
Day 8: Clear the Countertops
Remove everything from your kitchen counters except the appliances and tools you use frequently.
Consider storing:
- Rarely used appliances
- Excess decorations
- Paperwork
- Medicine
- Extra mugs
- Large utensil containers
- Unopened packages
A clearer countertop gives you more room to prepare meals and makes daily cleaning much easier.
Day 9: Declutter Utensil and Junk Drawers
Empty one drawer at a time.
Remove:
- Duplicate utensils
- Broken tools
- Dried-out pens
- Expired coupons
- Loose batteries
- Old takeout menus
- Mystery keys
- Damaged food-storage lids
Group similar items together before returning them to the drawer.
Day 10: Sort Pots, Pans, and Bakeware
Take inventory of your cookware and bakeware.
Donate or discard:
- Warped pans
- Heavily scratched cookware
- Pots without lids
- Lids without matching pots
- Duplicate baking dishes
- Specialty tools you never use
Keep the pieces that work well for the meals you actually prepare.
Day 11: Declutter Food-Storage Containers
Match every container with its lid. Recycle or discard cracked, stained, warped, or incomplete pieces.
Next, stack similar containers together. Try to keep only enough containers for your household’s regular leftovers, lunches, and meal preparation.
Day 12: Clean Out the Refrigerator and Freezer
Remove expired food, spoiled produce, forgotten leftovers, and freezer-burned items.
As you return food, group similar items together. For instance, place condiments in one area, dairy products in another, and leftovers where they can be seen easily.
Labeling leftovers with the date can also reduce future food waste.
Day 13: Declutter the Pantry
Work shelf by shelf.
Check for:
- Expired products
- Stale snacks
- Empty boxes
- Ingredients you will not use
- Multiple open packages
- Food your household does not like
Combine duplicate open packages when it is safe to do so. Then, group remaining food into categories such as breakfast items, snacks, canned goods, baking supplies, and dinner ingredients.
Day 14: Sort Dishes, Glassware, and Small Appliances
Review plates, bowls, mugs, glasses, serving dishes, and small appliances.
Ask yourself how many of each item your household truly needs. Donate extras that are rarely used, especially if they take up valuable cabinet space.
Week 3: Bathroom, Laundry Room, and Living Spaces
During week three, focus on shared spaces and frequently used household products. These rooms often collect small items that are easy to overlook.
Day 15: Declutter the Bathroom Counter
Remove everything from the bathroom counter. Wipe down the surface, and return only daily essentials.
Store backup products, occasional styling tools, and extra toiletries inside drawers, cabinets, or labeled containers.
Day 16: Sort Bathroom Drawers and Cabinets
Check every product carefully.
Remove:
- Expired medication
- Old makeup
- Dried-out nail polish
- Empty containers
- Products that caused irritation
- Hotel samples you will not use
- Duplicate tools
- Worn-out hair accessories
Follow local guidelines when disposing of medication rather than placing certain medicines directly in the trash or toilet.
Day 17: Declutter Towels and Linens
Gather bath towels, hand towels, washcloths, sheets, blankets, and pillowcases.
Keep a practical number for your household. Towels and linens that are badly worn may be suitable for cleaning rags, pet care, textile recycling, or donation to an animal shelter, depending on local policies.
Day 18: Simplify the Laundry Area
Remove empty detergent bottles, mismatched hangers, expired stain removers, and clothing that has been waiting too long for repairs.
Create designated areas for:
- Laundry products
- Stain treatments
- Cleaning cloths
- Lost socks
- Items that need mending
A small basket for items found in pockets can also prevent random objects from accumulating.
Day 19: Declutter the Living Room
Clear coffee tables, side tables, shelves, and entertainment centers.
Remove:
- Old magazines
- Excess décor
- Broken remotes
- Unused electronics
- Toys that are no longer played with
- Blankets or pillows you do not use
- Items that belong in other rooms
Keep enough décor to make the room feel comfortable without making surfaces difficult to clean.
Day 20: Review Books, Games, and Entertainment
Sort books, board games, movies, gaming accessories, and hobby supplies.
Keep items that are used, loved, or likely to be enjoyed again. Donate books you will not reread and games that are missing pieces or no longer suit your household.
Day 21: Create a Living-Space Reset System
Place a basket in a central area for items that belong in other rooms. Once or twice a day, walk through the home and return those items to their proper places.
This simple system helps prevent surfaces from becoming cluttered again.
Week 4: Storage, Garage, Paperwork, and Digital Clutter
The final week focuses on spaces where postponed decisions often accumulate. These areas may require more thought, so continue working in short sessions.
Day 22: Declutter One Storage Closet
Do not empty every storage space at once. Instead, choose one closet or cabinet.
Remove:
- Empty boxes
- Broken household items
- Outdated electronics
- Unused bags
- Excess cleaning supplies
- Decorations you no longer use
Store similar items together and label containers clearly.
Day 23: Sort Seasonal Decorations
Review holiday decorations, seasonal linens, gift wrap, and party supplies.
Keep decorations that are in good condition and meaningful to you. Discard broken items and donate decorations you consistently skip each year.
Use clear or labeled bins so you can find everything easily when the season returns.
Day 24: Declutter the Garage or Utility Area
Focus on one small zone, such as a shelf, workbench, or corner.
Sort:
- Tools
- Sports equipment
- Gardening supplies
- Automotive products
- Paint
- Outdoor toys
- Cleaning equipment
Dispose of chemicals, paint, batteries, and automotive fluids according to local hazardous-waste guidelines.
Day 25: Review Keepsakes and Sentimental Items
Sentimental items can be difficult to declutter, so avoid beginning with them earlier in the process.
Choose a limited container for keepsakes. Then, keep the items that hold the strongest memories rather than every object connected to the past.
You can also photograph bulky items before letting them go.
Day 26: Gather Loose Paperwork
Collect paperwork from countertops, drawers, bags, vehicles, and desks.
Create four categories:
- Action needed
- File
- Shred
- Recycle
Handle quick tasks immediately when possible. For example, pay a bill, schedule an appointment, or respond to a form rather than putting it back into a pile.
Day 27: Organize Important Documents
Create a simple filing system for documents you need to keep.
Possible categories include:
- Taxes
- Insurance
- Medical records
- Home documents
- Vehicle records
- Employment
- Financial statements
- Warranties
Store highly sensitive documents in a secure location.
Day 28: Declutter Email
Unsubscribe from newsletters you no longer read. Next, delete unnecessary promotional messages and create folders for emails that require future reference.
Use the search bar to locate and remove large groups of messages from the same sender.
Day 29: Declutter Photos, Apps, and Files
Delete blurry photos, duplicate screenshots, unused apps, and unnecessary downloads.
Organize important digital files into clearly named folders. Additionally, back up valuable photos and documents using a secure storage method.
Day 30: Complete a Whole-Home Review
Walk through each room with a basket and donation bag.
Look for:
- Items you missed
- Donations that still need to leave
- Objects without a designated home
- Surfaces that are becoming crowded again
- Categories that need better storage
Finally, take after photos and compare them with your original pictures. Celebrate the progress you made, even if every area is not perfect.
Rules for Deciding What Stays
The hardest part of decluttering is often deciding whether to keep an item. Instead of asking whether something might be useful someday, use clear decision-making rules.
Keep It If You Use It Regularly
An item deserves space in your home when it supports your current routines, needs, hobbies, or responsibilities.
Keep It If You Truly Love It
Decorations, artwork, books, and sentimental pieces do not have to be practical. However, they should still bring you genuine enjoyment or hold meaningful value.
Let It Go If You Forgot You Owned It
Finding an item you have not thought about in years may be a sign that you do not need it.
There are exceptions, such as important records or emergency supplies. Still, most forgotten household items can be released without affecting your daily life.
Let It Go If You Would Not Buy It Again
Ask yourself whether you would spend money on the item today. If the answer is no, consider whether it still deserves storage space.
Do Not Keep Something Only Because It Was Expensive
The money has already been spent. Keeping an unused purchase does not recover the cost. In fact, it may continue costing you space, time, and frustration.
Selling the item may be worthwhile when it has meaningful resale value. Otherwise, donating it can allow someone else to use it.
Avoid Keeping Items for Your Fantasy Self
You may own supplies for hobbies you no longer enjoy, clothing for a lifestyle you do not live, or equipment for projects you are unlikely to begin.
Keep items that support your real life rather than an imagined version of the future.
Set Limits for Each Category
Containers can create useful boundaries. For example, choose one shelf for mugs, one box for keepsakes, or one bin for gift wrap.
Once the space is full, remove something before adding another item.
How To Keep Your Home Decluttered
Decluttering is easier to maintain when every item has a designated place.
Start by using a one-in, one-out rule for categories that tend to grow quickly. Whenever you buy a new shirt, mug, toy, or beauty product, remove an older one.
In addition, keep a permanent donation box in a closet or laundry area. When you find something you no longer need, place it directly into the box.
Complete a quick weekly reset by clearing surfaces, emptying the misplaced-item basket, and removing donations from the house. These small habits can prevent clutter from rebuilding.
30-Day Printable-Style Decluttering Checklist
Use this summary as a simple daily guide.
Week 1: Bedroom and Closets
- Day 1: Clear bedroom surfaces
- Day 2: Declutter the nightstand
- Day 3: Sort tops and sweaters
- Day 4: Sort pants, dresses, and outerwear
- Day 5: Declutter shoes and accessories
- Day 6: Organize dresser drawers
- Day 7: Clear under the bed and finish the closet
Week 2: Kitchen and Pantry
- Day 8: Clear kitchen countertops
- Day 9: Declutter utensil and junk drawers
- Day 10: Sort pots, pans, and bakeware
- Day 11: Match food containers and lids
- Day 12: Clean out the refrigerator and freezer
- Day 13: Declutter the pantry
- Day 14: Sort dishes, glassware, and appliances
Week 3: Bathroom, Laundry, and Living Spaces
- Day 15: Clear the bathroom counter
- Day 16: Sort bathroom drawers and cabinets
- Day 17: Declutter towels and linens
- Day 18: Simplify the laundry area
- Day 19: Declutter the living room
- Day 20: Review books, games, and entertainment
- Day 21: Create a living-space reset system
Week 4: Storage, Paperwork, and Digital Clutter
- Day 22: Declutter one storage closet
- Day 23: Sort seasonal decorations
- Day 24: Declutter part of the garage
- Day 25: Review sentimental items
- Day 26: Gather and sort paperwork
- Day 27: Organize important documents
- Day 28: Declutter email
- Day 29: Organize photos, apps, and digital files
- Day 30: Complete a whole-home review
Frequently Asked Questions
What Is the Easiest Room To Declutter First?
The bedroom is often the easiest room to declutter first because it contains several simple categories, such as clothing, shoes, nightstand items, and personal belongings. Starting with visible surfaces can also create a quick improvement that motivates you to continue.
However, a small bathroom may be an even easier starting point if you want a project that can be completed quickly. Choose a room that feels manageable rather than beginning with the most cluttered space in your home.
How Long Should I Declutter Each Day?
Aim for 15 to 30 minutes per day. A shorter session is usually easier to maintain than an hours-long cleaning marathon. For larger areas, break the room into individual drawers, shelves, or categories.
What Should I Do With Items I Am Unsure About?
Place uncertain items in a labeled box and write a review date on it. If you do not need or look for the items within the next three to six months, you may feel more comfortable donating them.
Avoid using this method for seasonal necessities, important records, or emergency supplies.
Should I Sell or Donate Unwanted Items?
Sell items when they have enough value to justify the time required to photograph, list, communicate with buyers, and arrange pickup or shipping.
Set a deadline for selling them. If they have not sold by that date, consider donating them so they do not remain in your home indefinitely.
How Do I Declutter When I Feel Overwhelmed?
Choose one very small area, such as a single drawer, shelf, or countertop. Set a timer for 10 minutes and remove obvious trash first.
Next, pull out items that clearly belong somewhere else. Once those easy decisions are complete, the remaining items will be less overwhelming to sort.
Simplify Your Home One Space at a Time
A calmer, more organized home does not require one exhausting weekend of nonstop cleaning. Instead, it can be created through small, consistent decisions.
By following this room-by-room decluttering checklist, you can simplify your home over 30 days without feeling like everything must be completed at once. Some rooms may need additional attention, while others may take less time than expected. The important thing is to continue moving forward.
At the end of the month, your home should contain fewer unnecessary items, clearer surfaces, and more functional storage. More importantly, you will have a simple system for keeping clutter from taking over again.